Introduction
This Ten Step Process to Design and Build a YardPod helps to ensure that your experience is simple, rewarding, predictable with an end result that delights.
YardPod experience and expertise will help you make well-informed decisions, selecting materials and finishes that are green and cost-effective with minimum maintenance.
The 10 Steps To Your New YardPod
1. Obtain Essential Building Site Information
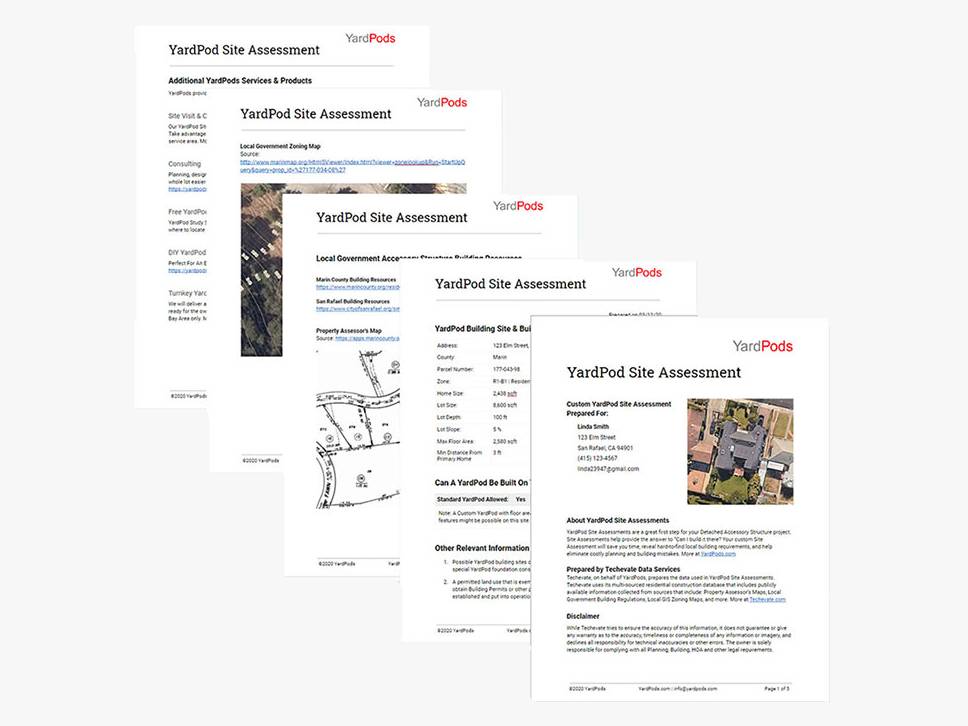
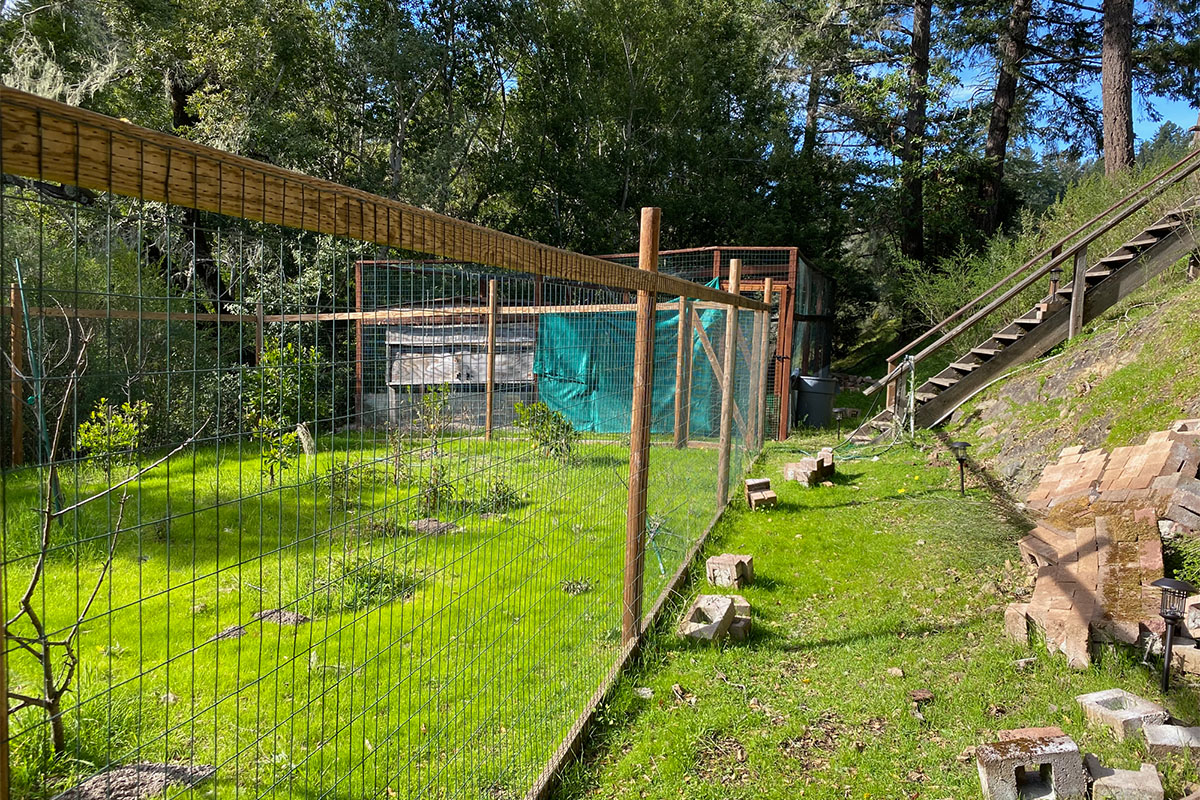
Start by contacting your local Planning and Building Department, gathering all information about your site including:
- Lot size (area and dimensions)
- Size of existing property
- Zoning and special zoning (and HOA) requirements
- Setbacks, size limits, height limits, Floor Area Ratio, etc.
You should also call or visit your local Planning and Building Department to determine whether or not you will need permits. An over-the counter Electrical Permit will be required for all projects, normally handled by the builder. Some local authorities also require Planning and Building Permits for the YardPod. Because this can be an expensive process, it is best to learn whether or not these permits will be needed as soon as possible in the process.
Do this yourself, or let us do it for you with a Site Assessment (fee-based).
4. Site Visit and Consultation
Greater San Francisco Bay Area Only
- Request a Site Visit and Consultation (fee-based). Link Here
- Schedule the visit
YardPods will send a Consultant to visit you and:
- Inspect the site and advise on placement
- Discuss design and construction options.
- Advise if a Consulting Engineer is required to design the foundations and/or retaining walls.
6. Detailed Design
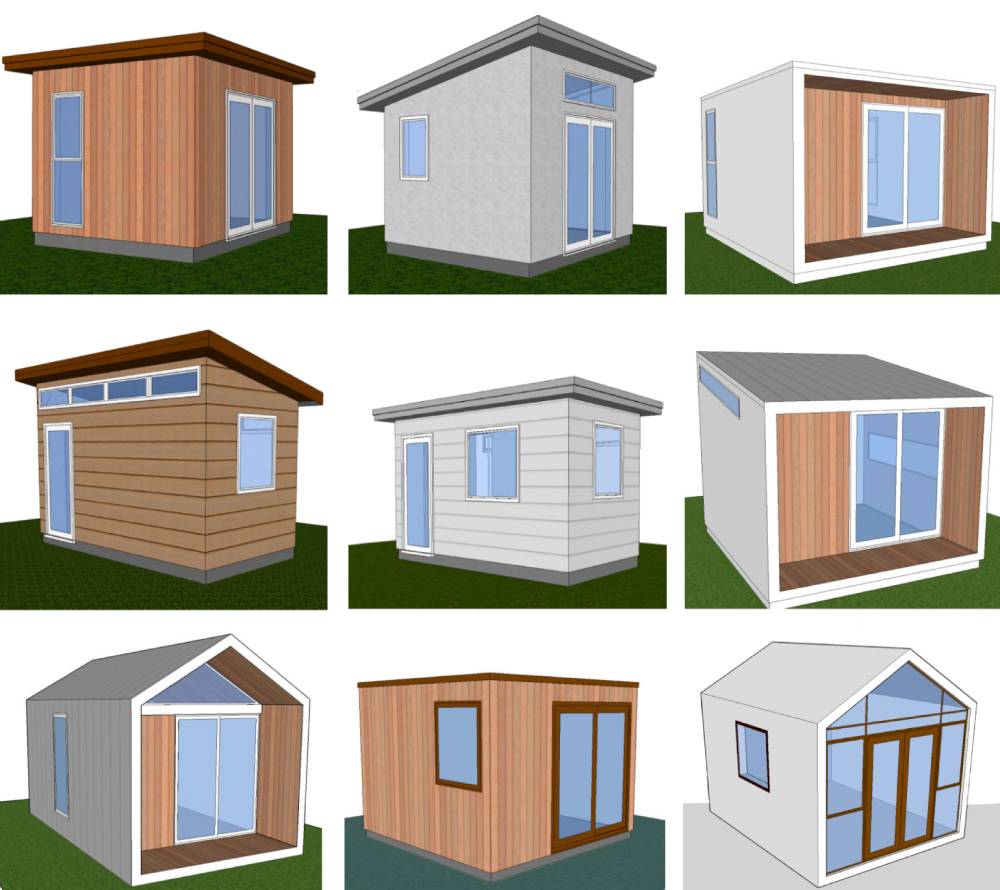
If required, we can work with you to design a unique custom YardPod, or we can modify one of our existing designs. Alternatively, you can select an existing design without modification and go straight to Step 7.
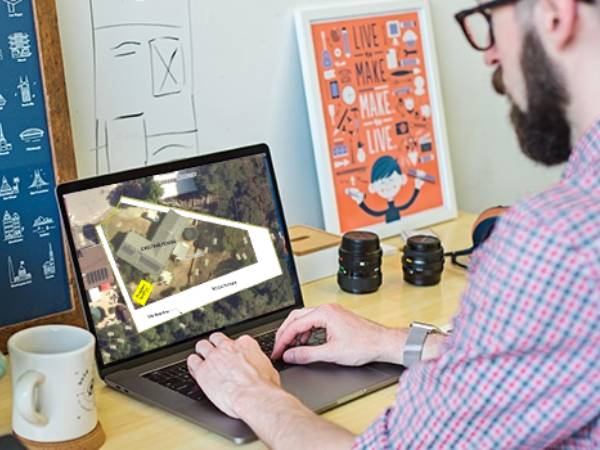
7. Construction Drawings
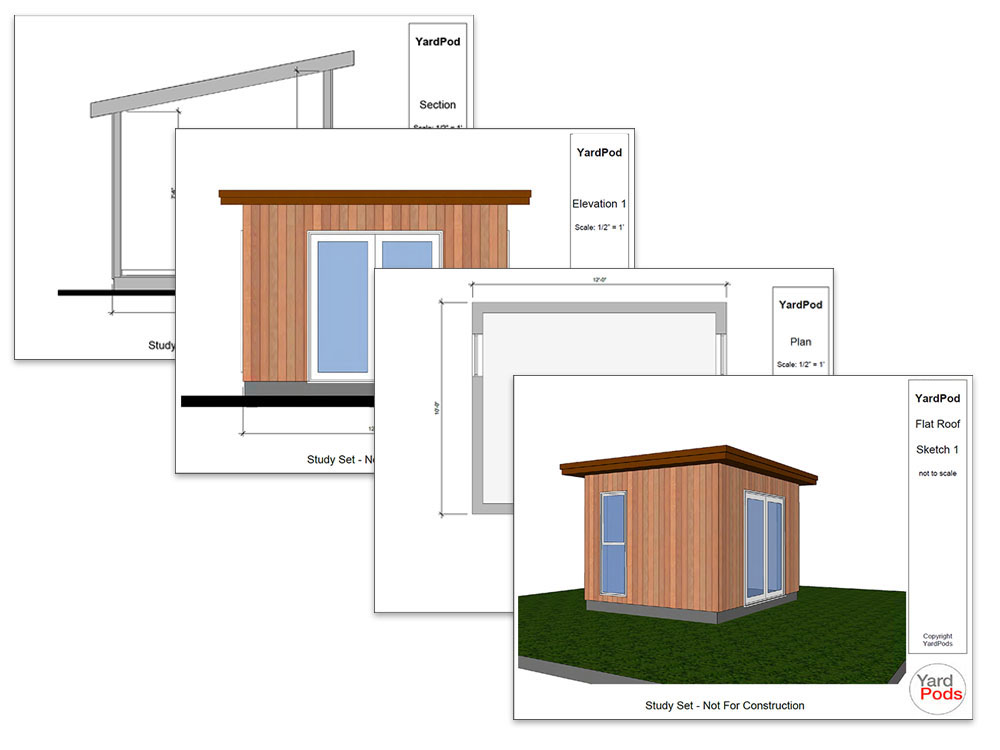
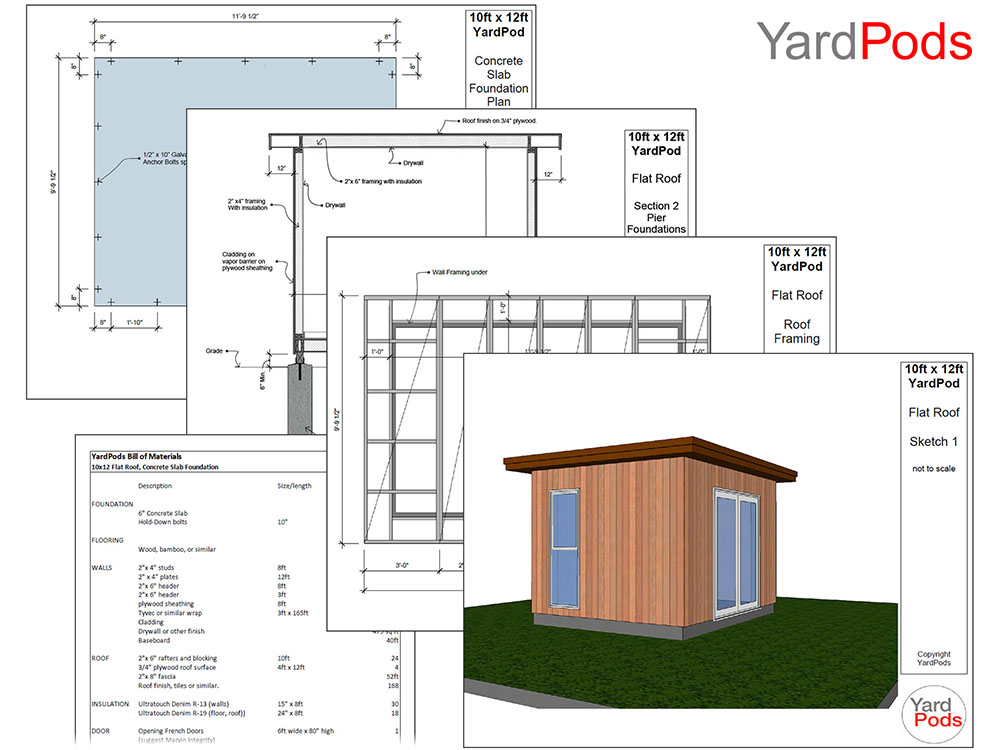
We will prepare dimensioned drawings and a Specification which can be used to send to Contractors to obtain bids. The selected Contractor will then use the drawings and specification to order materials and to construct the project.
Optionally, we can also prepare wall, floor and roof framing drawings and a Bill of Materials (fee-based).
YardPods will send the drawings to you for review and approval.
8. Select a Contractor
We can provide a short list of licensed contractors that you may wish to work with, but you are free to select any contractor that you want. Contractors should visit you to meet you and to review the site before submitting a bid. This is the time to discuss additional work such as decks or steps.
We recommend that you obtain bids from at least three licensed contractors.
Note that the contract will be between you, the owner, and the Contractor.
9. Construction Contract
The Contractor will submit a Bid directly to you to build the YardPod.
- You will review and either accept or ask the builder for changes.
- YardPods is happy to provide support during this process (fee-based)
- Once a contract has been agreed and signed, the builder will schedule construction.

10. Construction On Site
- There will be a lead-time before construction can start to allow the builder to order and receive materials and components.
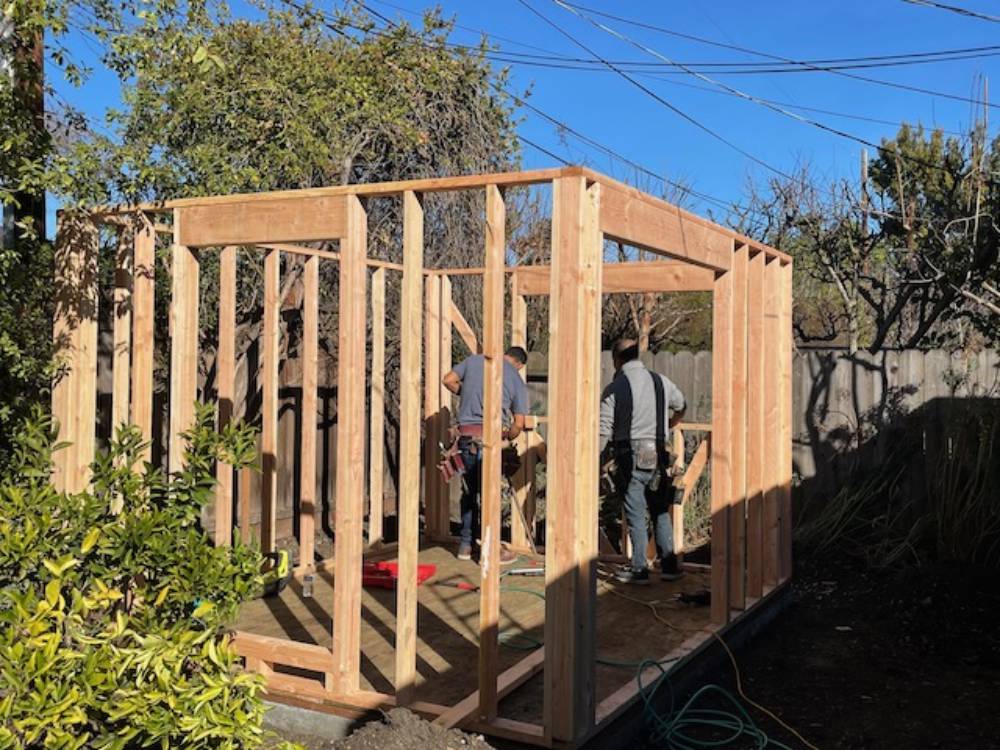
- The builder will generally take about 3 weeks to construct a YardPod from foundations to hand-over of keys.
- All construction is on site, nothing is prefabricated.
- YardPods is happy to provide support during this process, including Site Supervision (fee-based).
- The owner should advise the builder of any concerns during the process and should also inform YardPods.
- All warranties are provided by the contractor.
Please call or email to discuss your requirements.
We look forward to designing a custom YardPod for you.


Leave A Comment
You must be logged in to post a comment.